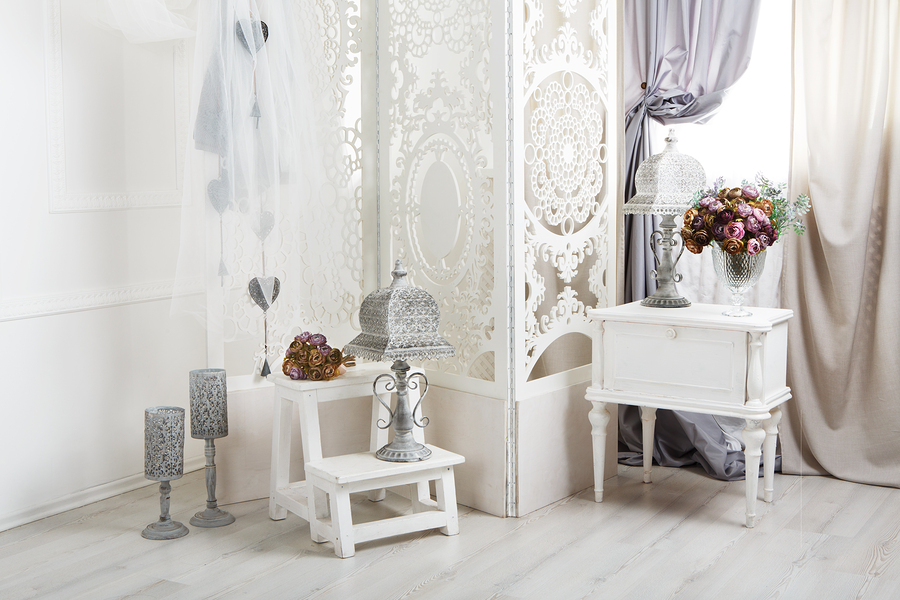
Are you fond of shabby chic wall decor? Agree that it looks unforgettable. Such decorations often look vintage and have the signs of wear and tear, even if they are absolutely new. The feeling of antiqueness and weariness is the most important for shabby chic style.
Though shabby chic decorations are usually used in eponymous interiors, they may be an addition to a wide range of other styles. Thus, they look nice in vintage and rustic styles, can be applied in traditional homes as well as become a part of a modern home in some cases.
Of course, you can buy the ready shabby chic decorations. Though the choice can be pretty large, especially at online stores, the prices can be rather high. A great way to save the budget and get a unique decoration is to do it with your own hands. And what’s good about shabby chic items is that they look even cooler if they are handmade.
So, let’s have a look at 4 fantastic projects of DIY shabby chic wall decorations, which can be easily brought to life.
Burlap and Lace Wreath
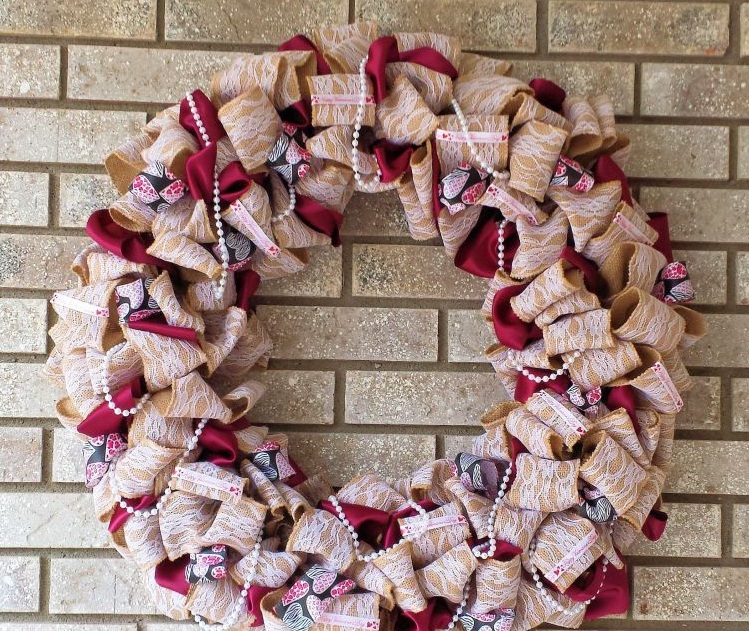
Burlap and Lace Wreath
https://i2.wp.com/blessedbeyondcrazy.com/wp-content/uploads/2015/01/20150131_102555.jpg?resize=770%2C703
Handmade wreaths may serve as cool shabby chic wall art decor. They are used not only at doors but also on the walls. There are many possible designs of wreaths, which will suit the shabby chic interiors, but the one of burlap and lace looks astonishing thanks to the interesting combination of materials.
In fact, shabby chic wall decorations, made of burlap and lace, aren’t a good idea for outdoor decor as the weather can spoil them. It’s better to leave them for interior. Such wreaths can be used in almost any room from entryway to bedroom. The only exception is bathroom as humidity doesn’t have a good effect on such adornments.
So, let’s see how to make such a lace and burlap wall decor shabby chic.
Materials:
– 18 inch wire wreath
– 10 scans of 2 1/2″ wide burlap with lace overlay
– 1 scan of 2 1/2″ wide x 30′ mauve wedding ribbon (the color of the ribbon may be another, which will suit your home color scheme better)
– 1 scan of 1 1/2″ wide x 4 yards of any other ribbon you like (it can be a festive one, dedicated to Christmas or Valentine’s Day or just a ribbon with beautiful pattern)
– A half string of 24′ faux white pearls
– Floral wire
– Hot glue
Instructions:
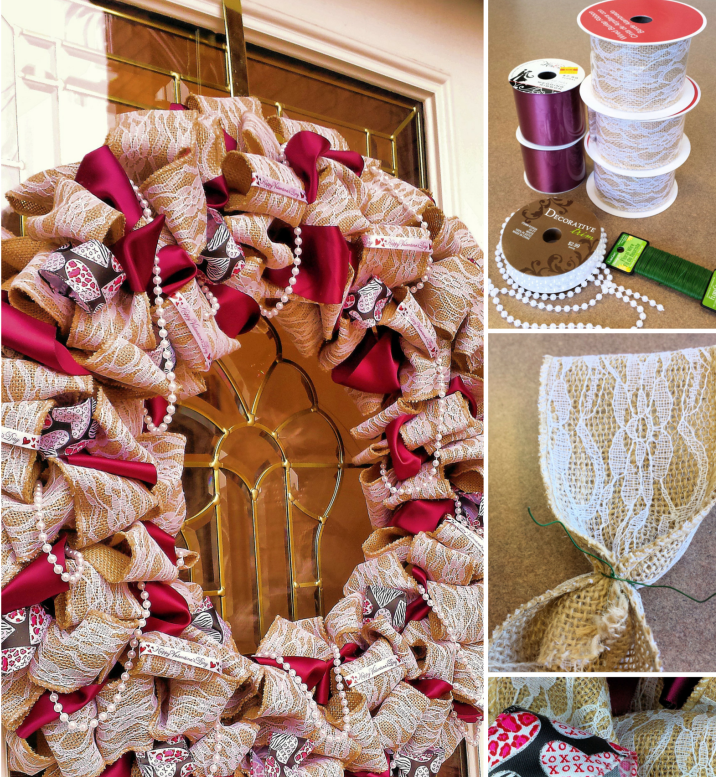
Burlap and Lace Wreath
https://i2.wp.com/blessedbeyondcrazy.com/wp-content/uploads/2015/02/Burlap-and-Lace-Wreath-1.png?resize=724%2C1024
1. Make a loop in the burlap, using 6 inches of it. Fold it over the end, gather it at the bottom and wrap a piece of wire around it.
2. Take the ends of the wire and wrap them around the floral wire frame in order to attach the loop to the frame.
3. In the same manner, work with the loops and attach them to the frame until you get the fully covered wreath. It will be more beautiful if you work the loops back and forth as the wreath will look fuller.
4. In order to attach the wreath to the door or the wall more easily, make a loop with the help of a wire, which can be hung on a hook.
5. In the same manner as you have worked with the burlap, attach the wedding ribbon to the wreath. For this project, the mauve one was used. But it’s better that the wreath for shabby chic wall hangings looks harmonious with the walls and other decorations. Thus, if you have a white and mint color scheme, opt for the ribbon of mint color.
6. Now, weave the ribbon in between the burlap loops.
7. Once, the ribbon is added, take the string of faux pearls and weave them into the wreath in the same manner as you did with the ribbon.
8. If you want to add any other ribbon, the one dedicated to a certain holiday or just a beautiful one, you are free to do that. It’s necessary to make loops from the ribbon. 10-15 loops will be enough for the wreath. Attach the loops to the wreath with the help of wire.
9. In addition, you may also add some other adornments to this shabby chic wall art. For instance, some additional faux pearls, vintage brooches and lace details can be added.
Vintage Picture Frame
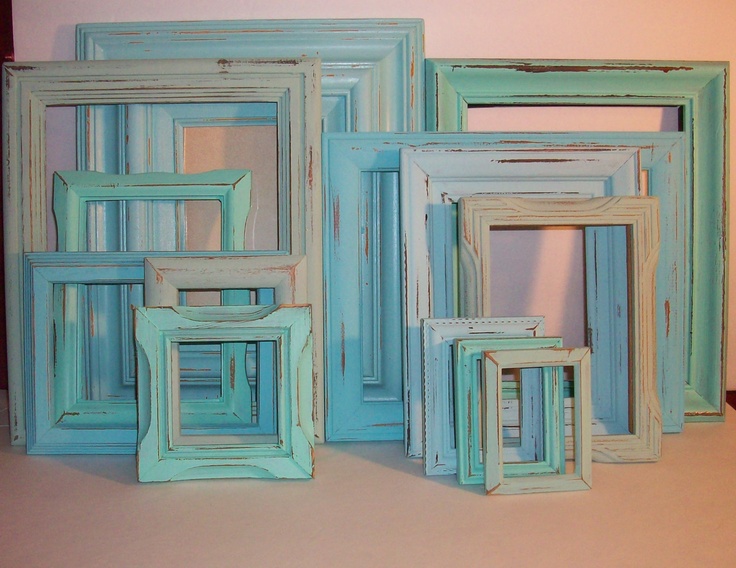
Distressed Picture Frames
https://i.pinimg.com/736x/29/75/8a/29758afd27e57352c1b4a2dd63251ebd–distressed-picture-frames-distressed-wood.jpg
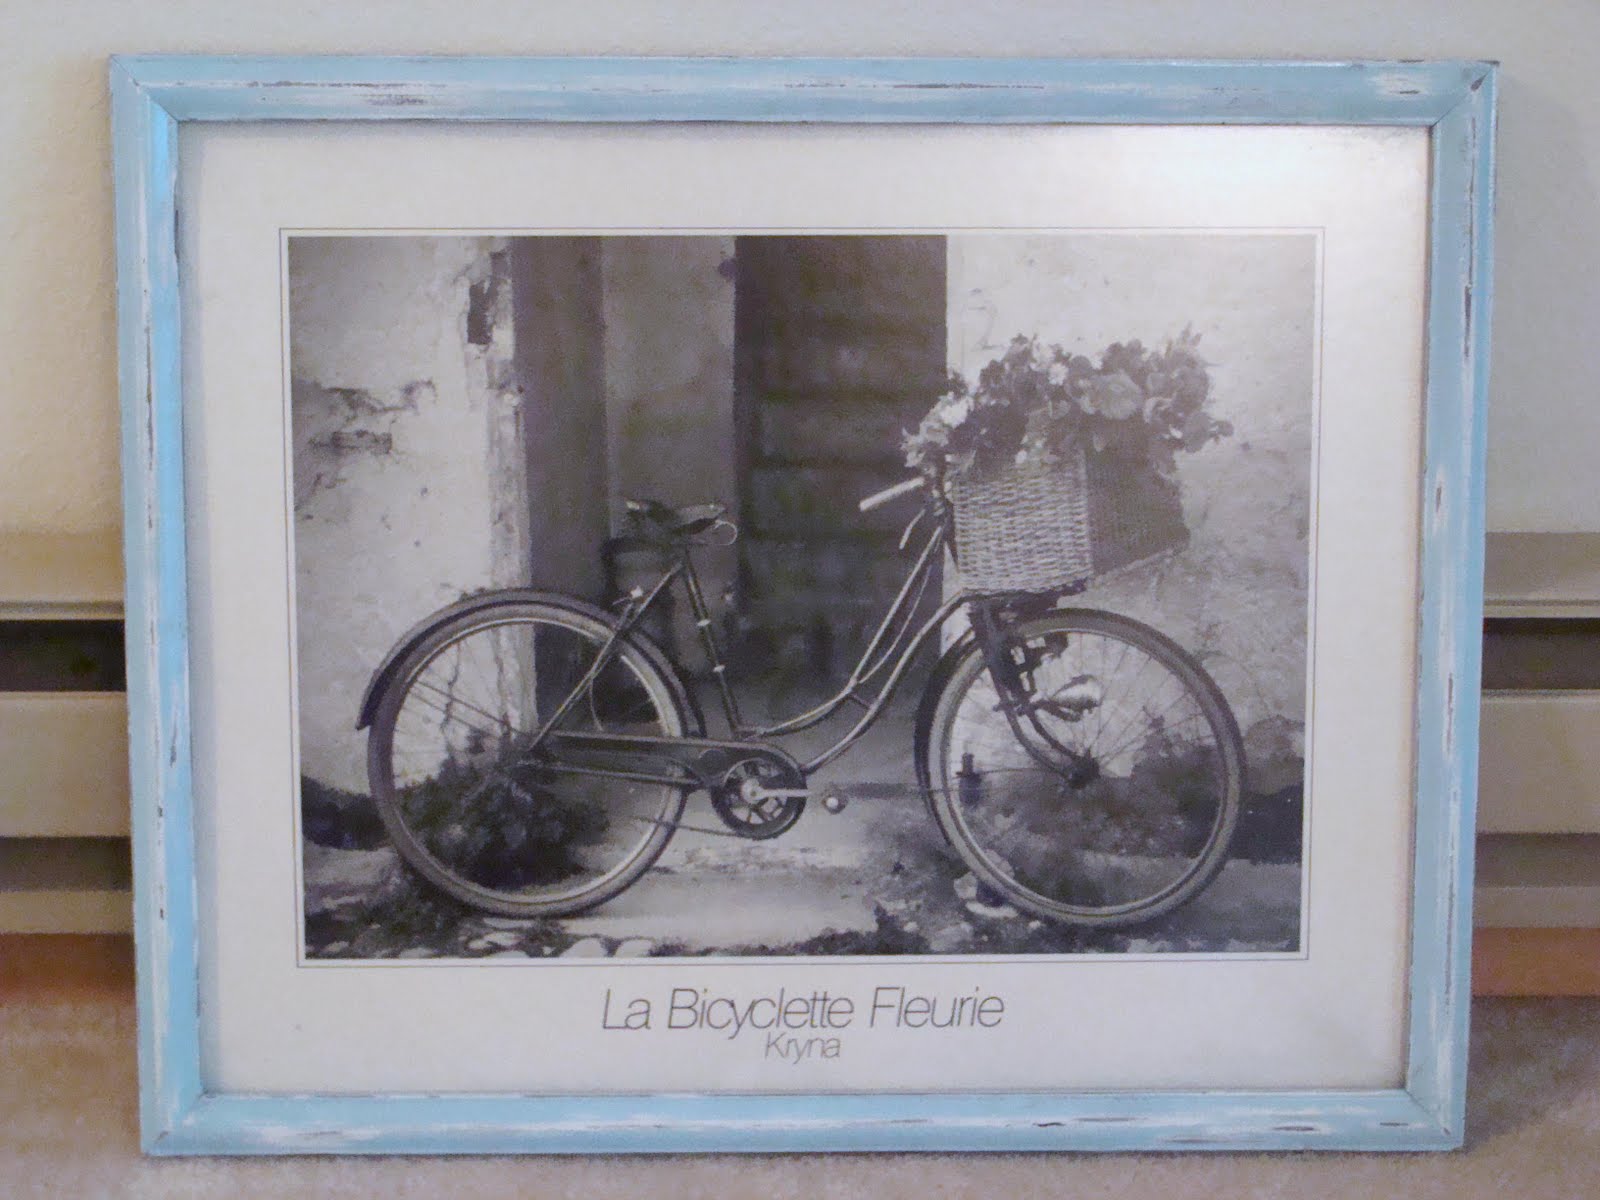
Vintage frames are one of the most popular shabby chic wall decor ideas. They can be used for displaying art, for your family photos as well as be hung as independent shabby chic wall decorations.
The distressed frames are the most widespread options and are ideal for shabby chic wall. And if you don’t have any old frames at home, you can easily turn any wooden frame into the one in vintage style. So, here are the instructions on creating cute distressed frames for pictures and photos.
Materials:
– Wooden picture frame
– Sandpaper – 2 pieces (one fine and the other one is coarse)
– Broad bristled paint brush
– White paint
– Paint of the color you want
Instructions:
Vintage Picture Frame
http://2.bp.blogspot.com/-tKtnak0z4VY/TmkOq45bxSI/AAAAAAAAEfY/8XvAK4DliYk/s1600/distressed-picture-frame.jpg
1. While choosing the wooden frame, it’s better to give preference to the one without any gloss or paint on it. But if you already have such a frame, you need to clean the surface. Clean the frame with the help of sandpaper until you get rid of the glossy cover. With the help of a damp cloth, wipe away all the residues.
2. Apply two coats of the paint, you have chosen and leave the frame for some time to dry.
3. Once the frame is absolutely dry, start sanding the surface. Be ready that the upper layer of the paint will be almost completely taken off. Wipe all the dust away to get a clean surface.
4. Take white paint and mix it up with the water in the proportion of two parts paint to one part water. Apply the mixture to the frame, working into the sanded back places.
5. Create the distressed look by using a damp cloth to smudge in the color and wipe some part of the paint away. Leave the frame to dry.
Decoupage Wall
Decoupage Wall
https://s3-production.bobvila.com/pages/47611/cover/cameroun.jpg?1439913590
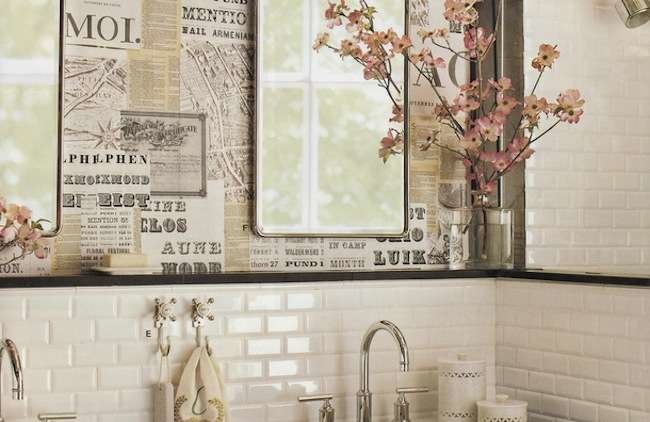
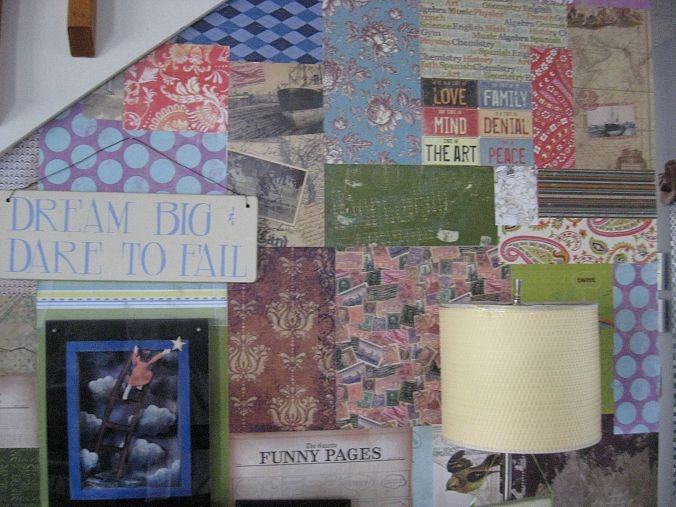
The decoupage walls are a fantastic solution for home in shabby chic style. If you don’t know, this technique presupposes the process of pasting pictures on the surface. As a result, you can get real masterpieces, which will make your wall look as if all the items are hand-painted.
There are so many ideas for decoupage. You can create astonishing wall decor shabby chic with the help of fabric, pictures, photos, magazine and book pages. Moreover, it will suit any room from shabby chic nursery wall decor to kitchen wall adornment.
Though it seems to be very difficult to do such a project, you will see that everything is easier than you have thought after reading the instructions below,.
Materials:
– Magazines/brochures/catalogues/books/pictures/posters/fabric
– Scissors
– Wheat paste
– Sponge brush
– Synthetic bristle brush
– Polycrylic Protective Finish
Instructions:
Decoupage Wall Decor
https://i.pinimg.com/736x/48/60/9c/48609c7f3610a4cdf3d400de4dec4554–paper-walls-wrapping-papers.jpg
1. Prepare the surface. It must be clean and dry. If it’s necessary, sand it.
2. If you want to have a certain color as a basis, paint the wall and allow it to dry.
3. Now, prepare the images, you are going to paste on the wall surface. If you use the fabric, it must be clean, dry and ironed. If you use paper pictures, they must be without any creases. You can use the pictures of the original size and form. Or, you can cut out the necessary silhouettes. For instance, if you want to cover the wall with dozens of flowers, it’s better to cut them out without any background.
4. With the help of a sponge brush, apply wheat paste to a small part of the wall.
5. Apply the picture to the wall, pressing and taking care that no bubbles appear and the picture lies on the wall smoothly.
6. Repeat the process for the rest of the images until the whole wall is covered with them. Make sure that you have burnished out all the bubbles. By the way, you can do that with a credit card.
7. Allow the wall to dry.
8. Apply a coat of Polycrylic Protective Finish with the help of a synthetic bristle brush. It will protect the images from any damage.
DIY Canvas Wall Art
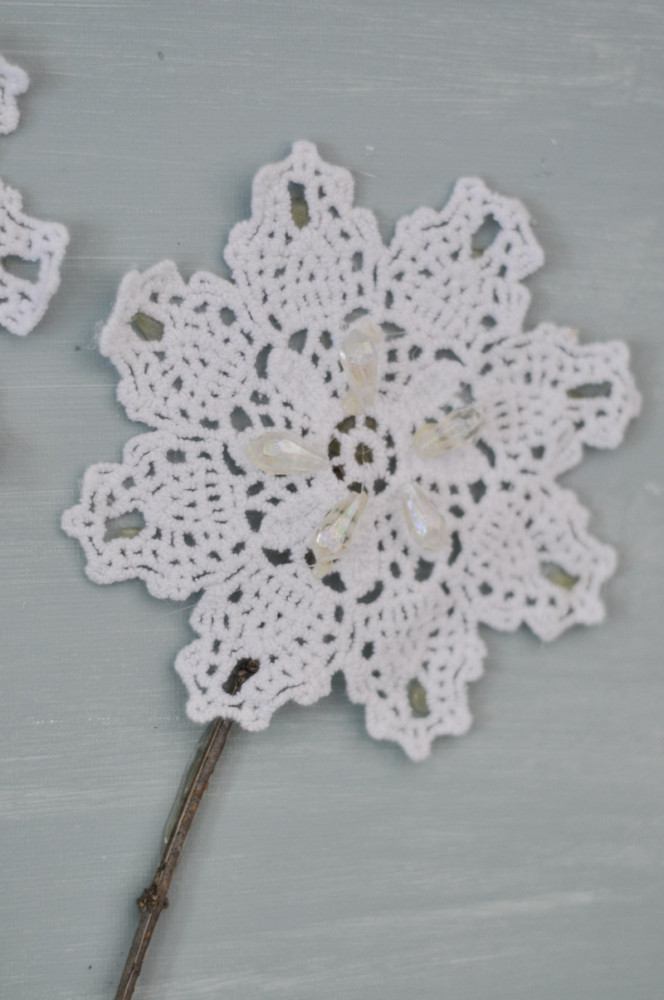
Doilies Wall Art
http://blog.consumercrafts.com/wp-content/uploads/2015/07/Doily-Flower-Canvas-Art-Tutorial-7-664×1000.jpg
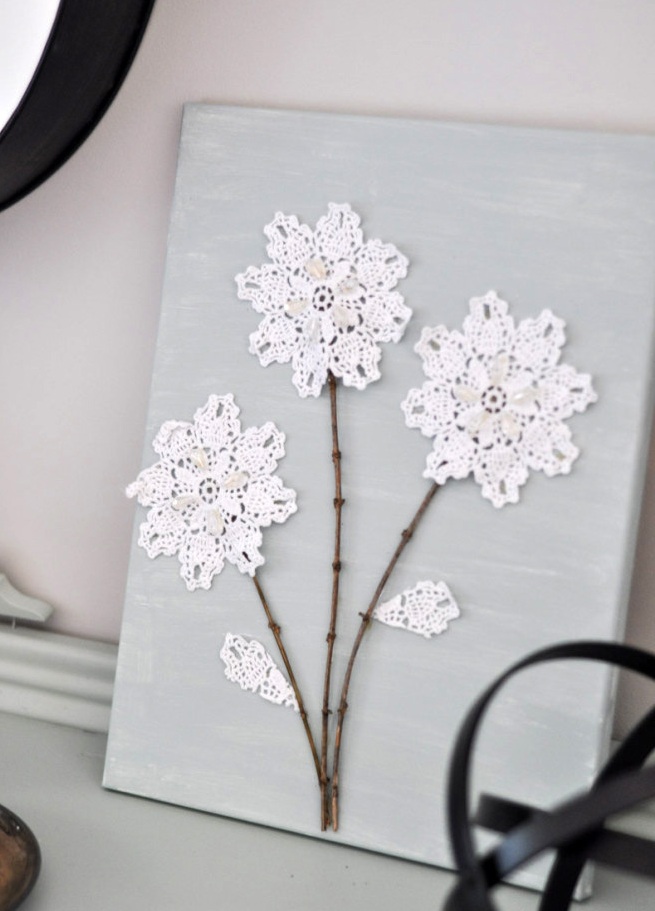
Doilies can serve not only for the table adornment but also as a part of chic wall decor. They can be just attached to the wall, can be placed into frames or be one of the components of DIY projects. For instance, you can create a beautiful canvas art with the help of doilies.
Such a canvas with doilies can be a cute addition to shabby chic kitchen wall art as well as be used for living room and bedroom decoration. The doilies almost always look a bit vintage and will look harmonious in shabby chic interiors. So, you are free to create such an art with the help of the following instructions.
Materials:
– 4-5 pineapple doilies
– 12 x 16″ canvas
– Paint
– Paint brush
– Hot glue gun
– Twigs
– Beads
Instructions:
Doily Decor
http://blog.consumercrafts.com/wp-content/uploads/2015/08/DIY-canvas-wall-art-tutorial-Crafts-Unleashed-2.jpg
1. Cover the canvas with paint. The color of the paint can be different. But it’s better to give preference to pastel colors like light green, blue or pink. If you want the white background to peek through or want the art to look more vintage, one coat of paint will be enough. If you need a more saturated color, apply two coats of paint. Allow the paint to dry.
2. Now, take the twigs and hot glue them to the canvas. They will be the legs of flowers.
3. Place the doilies on the top of the sticks with hot glue. However, apply the glue to the canvas not to the doilies, as their holes may skip some glue, which is hot and may burn your fingers.
4. Decorate the flowers with beads. You may use pearls, clear teardrops or any other ones you like. Place them around the center of the doily. You can add some beading on the rest of the doilies as well.
5. Cut the doilies, which are left, to create the leaves. But do that very carefully in order not to unravel them. Hot glue them to the canvas. Now, your canvas wall art is ready!
All in all, DIY adornments are one of the best solutions for shabby chic wall decor. The main plus of doing such decorations with your own hands is that you get cool and unique wall hangings, spending much less money than you could spend, buying the ready items.
Leave a Reply