The DIY projects on creating wooden wall decor seem to be very hard for unprepared people. Many of us think that in order to work with such a material, we need to be very strong. However, some cool decorations can be made rather easily and take up just several hours.
For instance, a wood slices wall art is a project, which can be done pretty fast and you don’t need any special skills for it. So, let’s start and see how to make such a cute wall decor with wood.
Materials

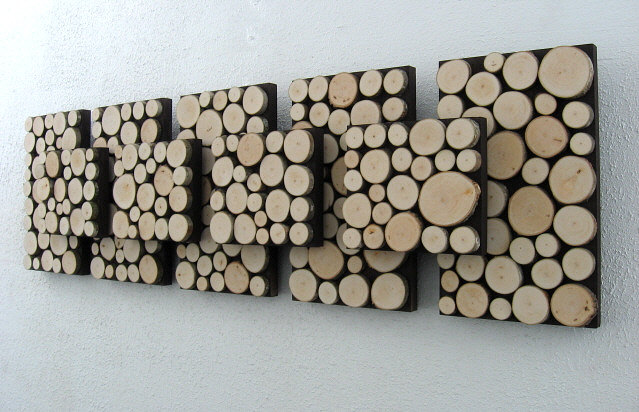
DIY Wood Slice Wall Art
http://326sn8ptvla193461rea09tj-wpengine.netdna-ssl.com/wp-content/uploads/2014/08/diy-wood-slice-art-from-upcycled-tree-branches-upcycledtreasures.png
In order to make such a wall art wood, you will need:
– Plywood or Canvas
– Wood Slices
– Paint
– Brushes
– 220 Grit Sandpaper
– Stain (optionally)
– Heavy Duty Glue
– Wood Frame (optional)
– Heavy Duty Picture Hanging Hardware
Instructions

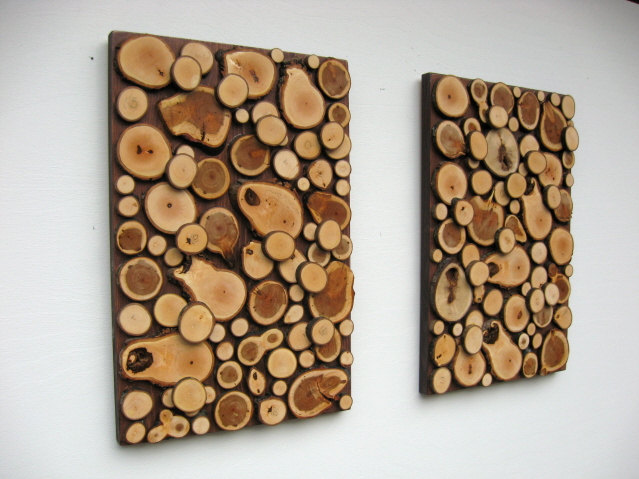
Framed Wood Slice Wall Art
https://s-media-cache-ak0.pinimg.com/originals/42/b0/36/42b036a45ab0def30d41d5651a9ef2f6.jpg
1. Prepare the backdrop for your art. Take a piece of plywood of the size you need. In fact, it can be a large piece as well as a small one. If you don’t want to have a square or rectangle decoration, cut out the necessary form. Also, instead of the plywood, you are free to use a canvas.
2. Be ready that there will be some gaps between the wooden pieces. That’s why, if you don’t want the plywood be seen under wood slices, you may stain it so that it stands out less.
3. This wooden wall art can be framed or be hung without frame. The both variants look great. If you make up your mind to have a frame, you need to buy or create the frame of the size, which will be appropriate for the wall art. It’s good when the color of the frame coincides with the color of the backdrop or the color of the wood slices. So, for example, if you want to create white wooden wall art, paint the frame with white paint. Or, if you want it to be of the same color with the backdrop, stain it.

Wood Slice Wall Sculpture
https://img1.etsystatic.com/010/0/5562980/il_fullxfull.412746419_izuv.jpg
4. Now, it’s time to cut the wood slices. Take a tree branch and, using a saw, cut the pieces of the necessary width. As a rule, the thickness of the slices is the same, but it’s possible to create an artwork with the pieces different in both thickness and diameter.
5. In order to make the wood slices smooth, use a 220 grit sandpaper and go over the tops of the slices with it. It’s especially important to do that if you are going to paint the slices or add some adornments to them.
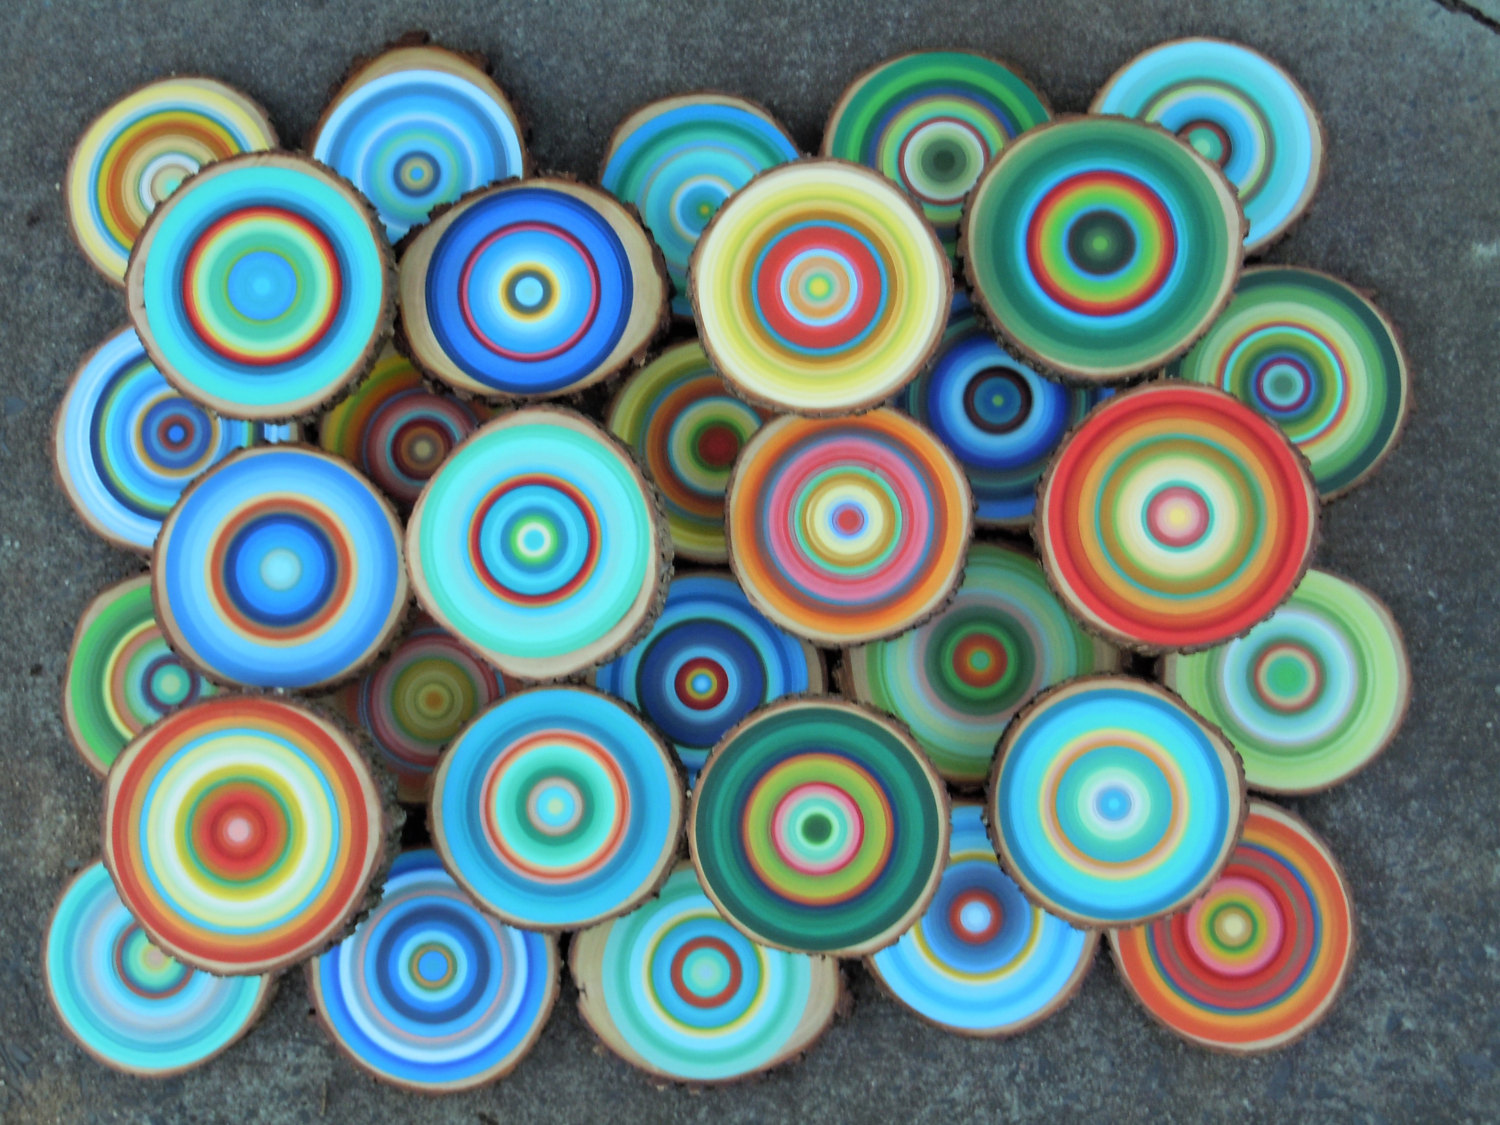
6. If you are going to paint the pieces or add some patterns and images to them, do that. You can leave the slices as they are for creating a more natural look, which suits more rustic and country styled interiors. You may stylize the wood pieces and cover them with white-washed paint for creating a more antique look. There are many things, which you can paint on the slices. You can just cover them with paints of various colors. Or, you can make a geometric pattern as well as paint plants or animals’ silhouettes on them.
7. Once all the slices are ready, start attaching them to the backdrop with heavy duty glue. You can first just place them on the surface without gluing to see how it’s better to arrange the items. After you stick the pieces, leave the art for some time to allow the glue make its work in the best way.
8. Now, attach your masterpiece to the wall with heavy duty picture hanging hardware and that’s it.
Wood Wall Art Decor Tips

Colorful Art from Wood Slices
https://img1.etsystatic.com/112/0/6457050/il_fullxfull.906615943_c3g8.jpg
Basically, this wood wall decor can be used in many types of interiors and be made in various designs. Thus, such an art piece will look cool in kitchen, dining room, living room as well as bedroom.
The decoration can look organic in various color schemes. The natural wood colors are suitable for the walls of any color. If you prefer to paint the slices in a certain color, make sure that it will look good with the rest of the room. Thus, white wood wall decor can be used for adding texture to the walls in the total white room. Or, the multi-colored ones are a great option for neutral room colors.
As to the styles, wooden wall art decor is also rather universal. It may look astonishing in rustic and farmhouse interiors, which usually use natural materials. The traditional interiors may also have such a decoration. Moreover, almost all the types of modern interiors can be also adorned by a wood decoration.

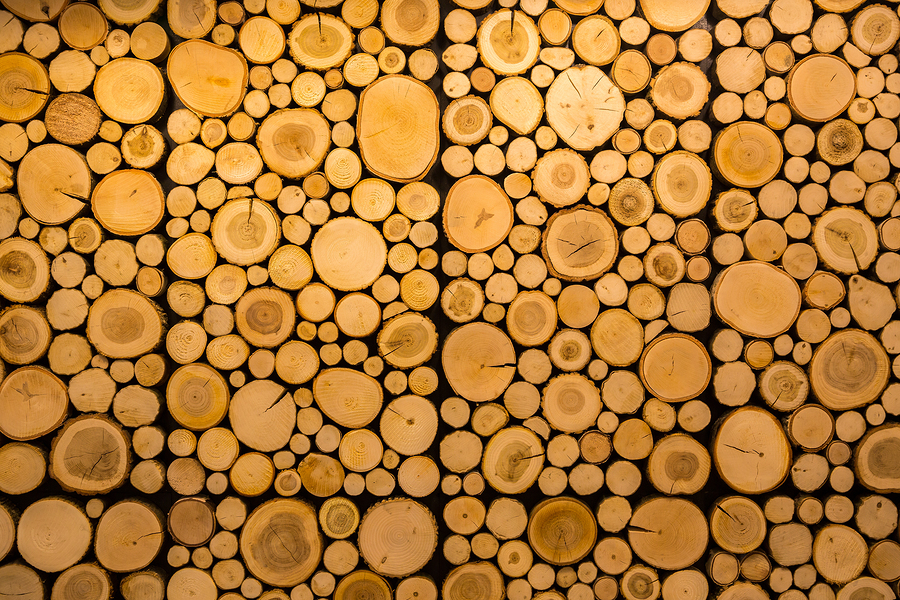
Rustic Wood Slice Wall Decor
https://s-media-cache-ak0.pinimg.com/originals/e7/e0/c7/e7e0c722bee5ff16d6a1d4cdccdf6290.jpg
As a rule, slice wood art is made either in square or rectangular form as you can just take the piece of plywood and add the slices to it. Also, you can make the art of some simple shapes like rounds, ovals and triangles, which you can cut out from the plywood. Or, you are free to create swirls and some other abstract forms.
Moreover, the shapes of the wood art wall decor from slices can be more complicated. For example, such an art can be in the form of your state or be made as a silhouette of your favorite animal. Not everyone will cope with such a project, but if you have already worked with such materials, you may create something really unique and beautiful.
So, if you like this project on creating wooden wall decor, don’t hesitate to try it. It’s not obligatory to create a huge wall art piece, you can even make something small and place it on the shelf instead of attaching it to the wall.

Leave a Reply