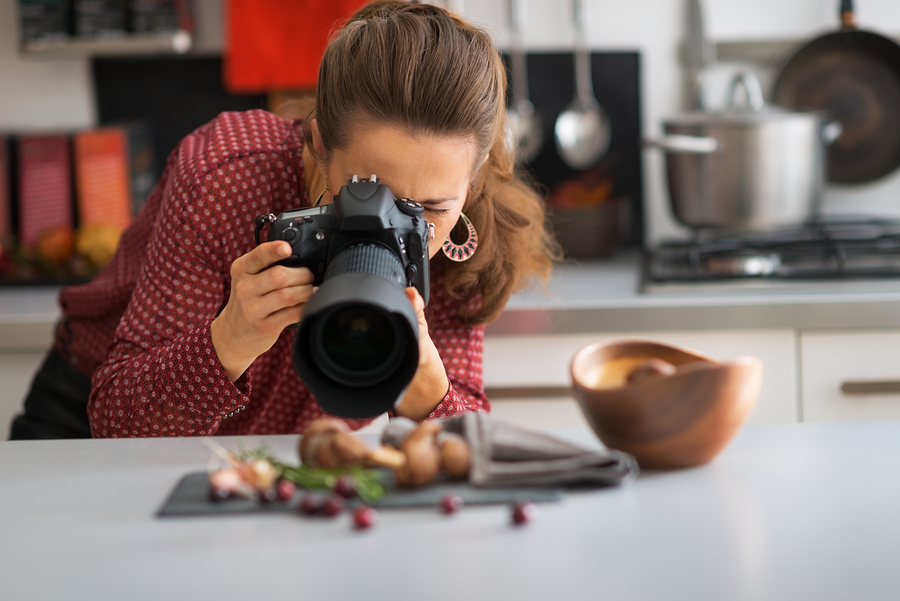
High-quality food photos can do a lot of things: they can make the viewers hungry, persuade a client to buy a dish at a restaurant or contribute to selling a great number of cookbooks. However, in order to make good photos of food, you need to have special knowledge of what techniques work better and what can spoil the photos.
In this article, we have gathered some pieces of advice, which you should take into account if you want to get the results, similar to the ones you see in magazines and books.
Professional Food Photographer?
Register on our site to obtain additional earnings.
The first two things you need to take into account are light and composition.
Light. Backlight is extremely important for highlighting the texture. It will help you to make the object more appetizing than it looks when the light source is located in front of it. However, the light shouldn’t look too artificial. Natural window light on a cloudy day is perfect. The mild and diffused light contributes to soft shadows.
Nowadays, it’s trendy to make photos in dark atmosphere, using only natural light (look at the photo of strawberries below). However, if you don’t have such opportunity, the studio light will be of use for you. In most cases, it will be necessary to use soft boxes and reflectors. A flash can spoil photos and make them look too dull. That’s why be careful with using it for food photos.
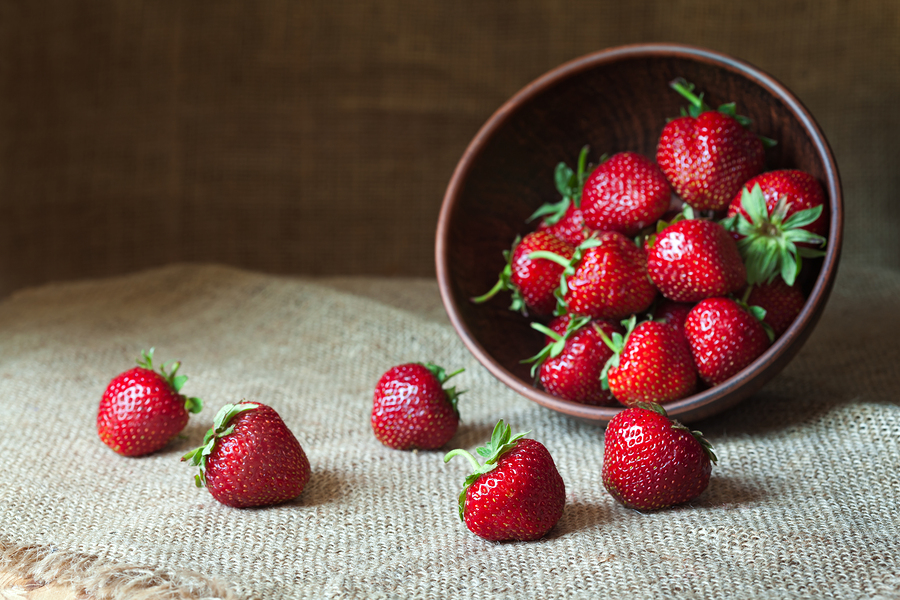
Strawberry
Composition. To make food posters look natural and attractive, don’t overload the picture. Take away all the unnecessary objects, which can distract from the food. If you use some decorative elements, make sure that they highlight the main object and not grab all the attention. At the same time, don’t put too much food on the dish. Your aim is to show the beauty of the food, not its abundance.
If the dish doesn’t look good, make a photo of its part. Use simple plates and tableware without patters and pictures or the ones which complement the dish. It’s also important that the plates are clean and without any defects (all defects are seen very well when you make a close photo of an object). You should also take into account that the color of the plate must be different from the color of the food. Thus, red cherries look too dull if they are placed on a red plate.
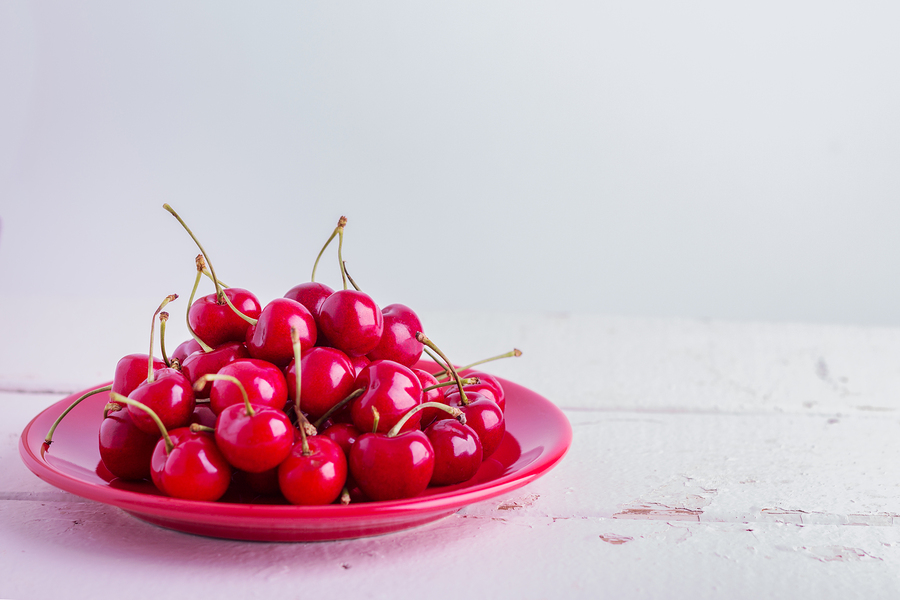
Cherries on a Red Plate
Here are some food photography tips that will help you to create beautiful photos:
- In order to make vegetables look glossy, add some oil to them. The same thing can be done to meat to make it look juicier. If a salad doesn’t look fresh enough, you can add some water and stir it.
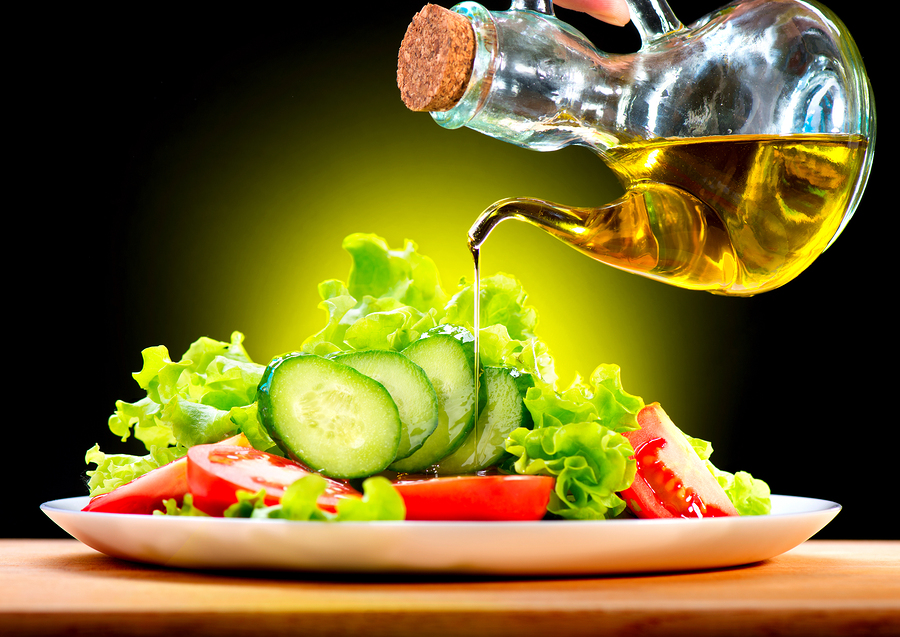
Vegetables and Oil
- Don’t be afraid of experiments. Use your fantasy and take photos from different angles. You can also try to use macro shooting. It’s often used for shooting fruits and desserts. It’s also better not to make shots as a view from above. They can look rather flat.

Macro Shooting of Biscuits
- Think over the colors of your dish. In the majority of cases, you can add some decorations of the contrasting colors to make the photo more picturesque. Pay attention to the contrast of white, red and green in the photo below.
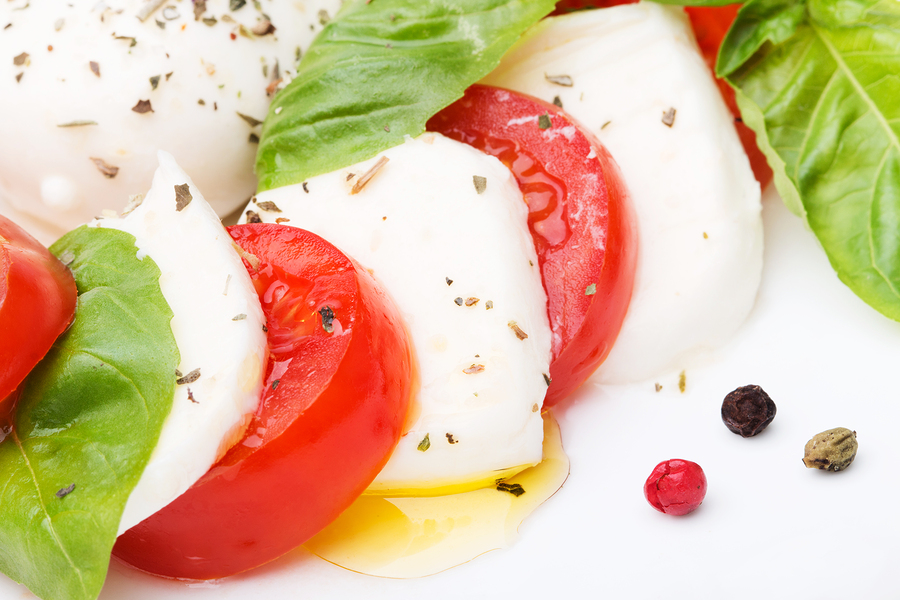
Contrasting Colors
- Pay attention not only to the dish but also to the things, surrounding it. Make sure that the table looks appropriate and additional objects complement, but not dominate. The picture below has some other objects on, but the salad is the main object and it dominates.
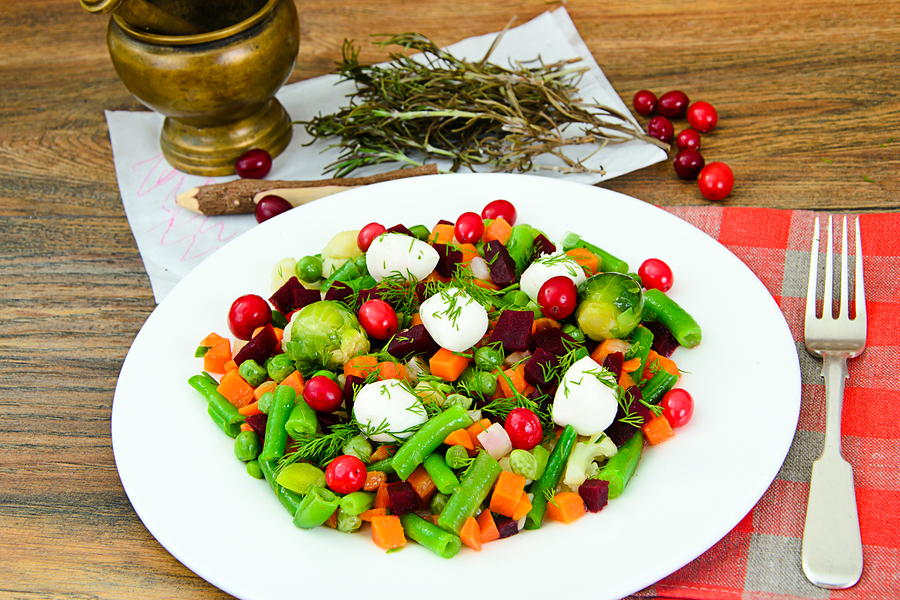
A Salad
- Use only fresh products and just prepared dishes. It isn’t a secret that hot and fresh food looks better in a shot. It also looks nice when the steam is seen on the photo. Of course, it’s very hard to take good photos while the dish is still steaming as the period of time is too short. In order to cope with this problem, some food stylists offer to use wet cotton balls, previously heated in a microwave oven.
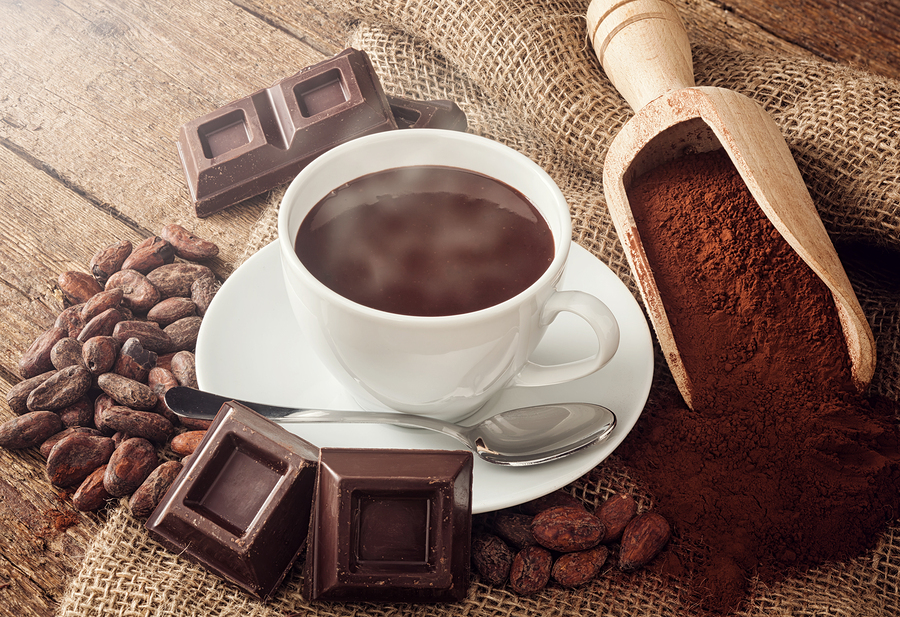
Steaming Hot Chocolate
- Take into account that some dishes shouldn’t be photographed as a whole. For example, to make a photo of a cake, it’s better to take a piece of it so that the filling was seen. In order to show both its filling and top, you need to make a high-angle shot.
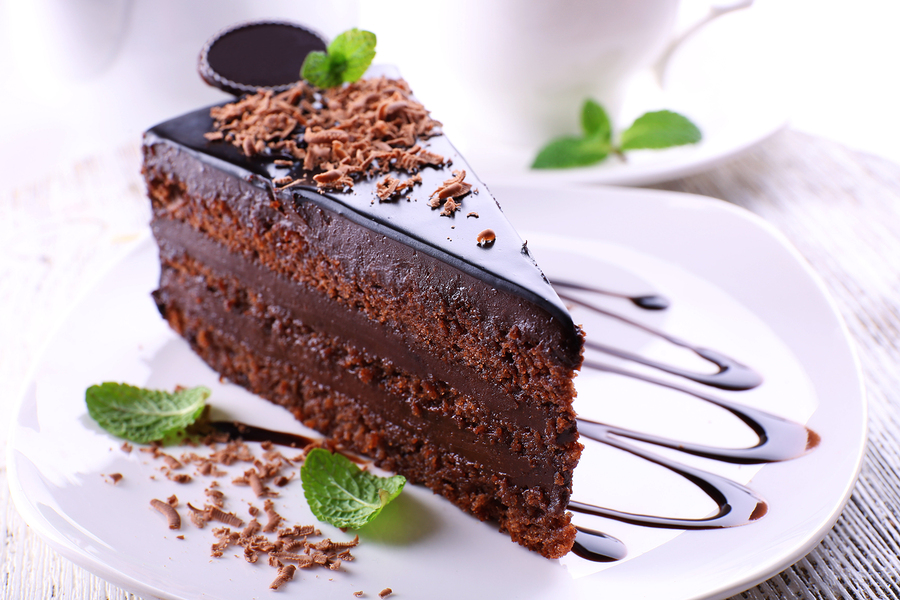
A High-angle Shot of a Cake
- Prepare for the photoshoot beforehand. As the prepared food loses its juiciness and savouriness very quickly, you need to be ready to act fast. Think over all the details: what additional objects can be used with each dish, what tableware to use, how it’s better to arrange the composition etc. It’s also necessary to take into account the ingredients and the way they are arranged. For example, if you make a photo of a layered salad, you need to show all the layers. A very good way to do that is to use transparent bowls or arrange all salad ingredients using a special form.
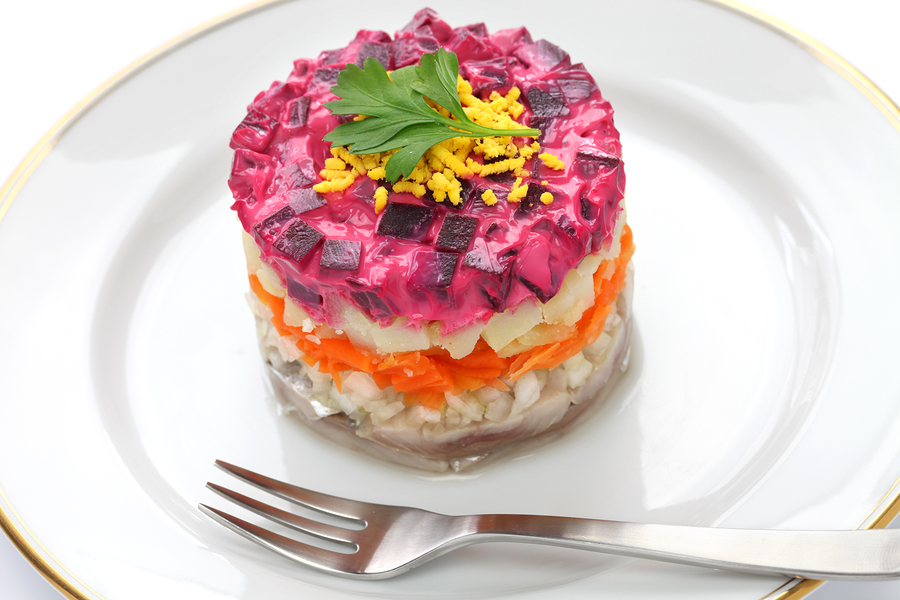
A Layered Salad
- Make photos of the cooking process. By showing the process, you help people to understand the final picture better. You can make one photo of the uncooked dish and one of the ready one or you can make a series of photos. It’s up to you. This method is often used for the dishes, which differ a lot at various stages, for example a cream soup. In addition, a series of photos will look more dynamic and interesting.
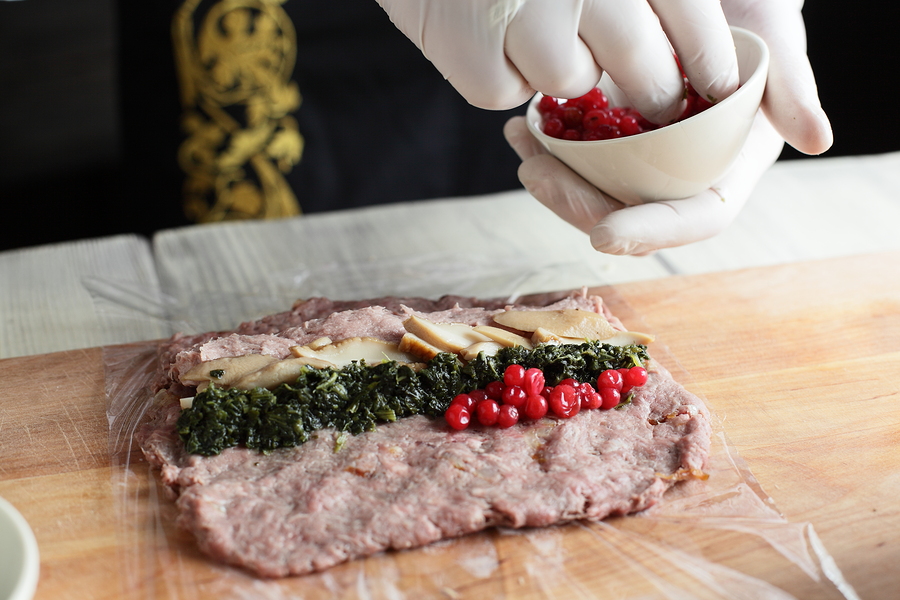
The Cooking Process
- Add a human. A hand, which holds a plate or stirs a dish, adds verisimilitude and helps a viewer to see the size of the object better.
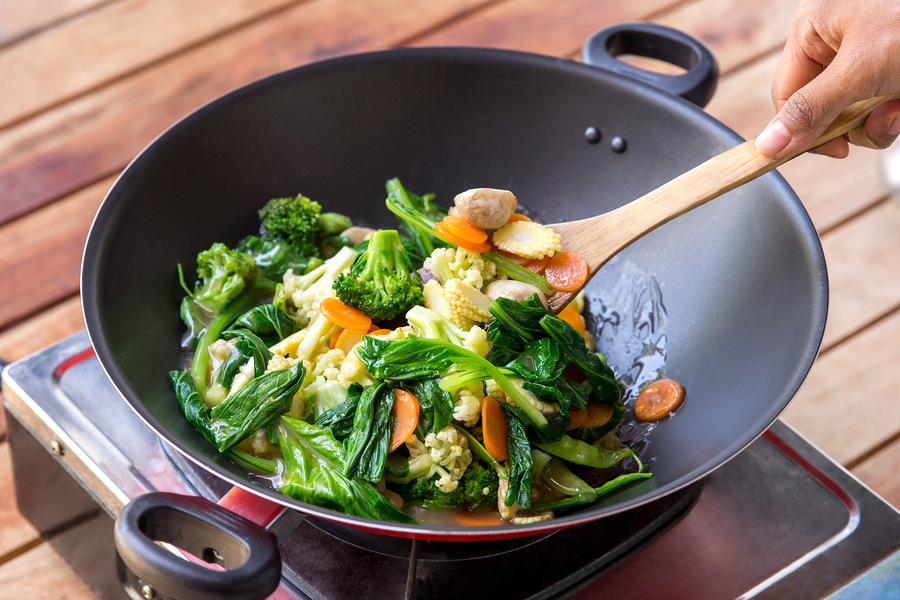
Presence of a Human on a Food Photo
- Undercook the dishes. When you remove the well-cooked meat or vegetables from heat, their look is often not so appetizing. Food for “eyes” and food for “stomach” are two absolutely different notions. That’s why, it’s better to remove them a bit earlier so that they look juicier and continue cooking after the photos are made.
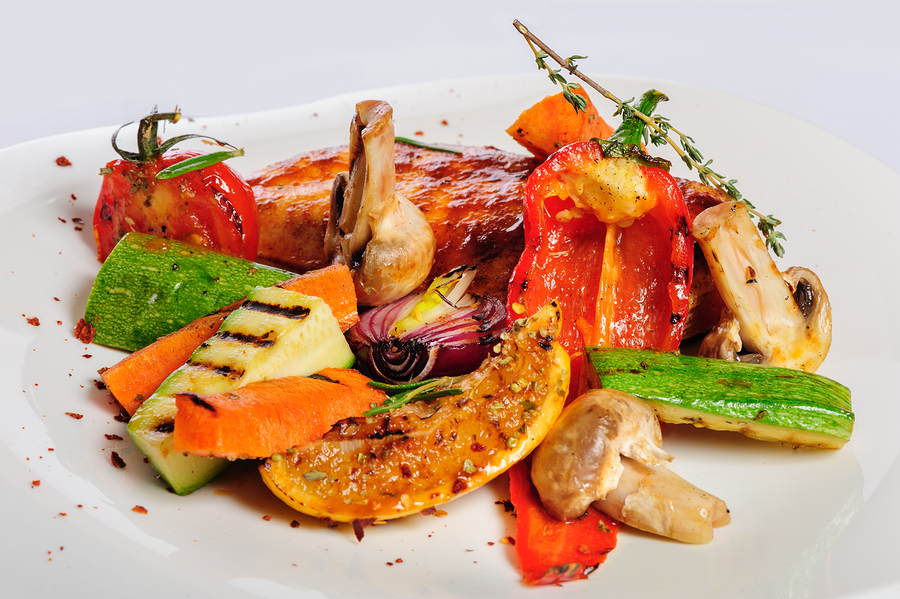
Undercooked Grilled Chicken with Vegetables
- Show only the best sides of the product. Sometimes, a dish can have defects, for example a slightly burnt side of the steak or a cake, which was a bit spoilt while being placed on a plate. Your task is to hide everything bad and make photos only of those parts of the dish, which are presented in favorable positions. The defects, which are slightly seen in reality, can turn out to be more evident in food photography. The photo below demonstrates that the apple was photographed from the wrong angle. If a photographer just turned it a little bit, the defect wouldn’t be seen.
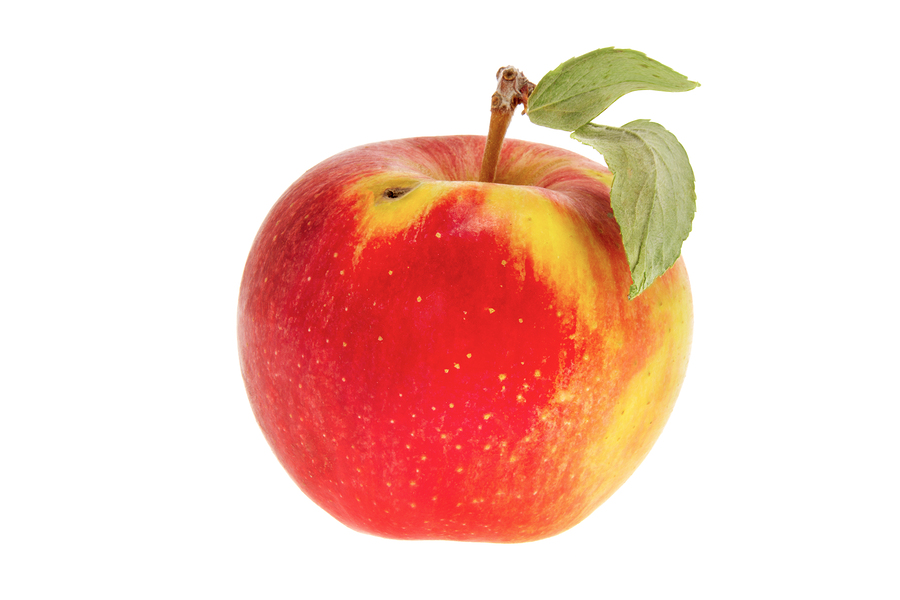
An Apple is Shown from a Wrong Side
So, now you know some secrets of how to create beautiful photos, which can be later used for food posters, catalogues, menus etc. We hope that they be of use for you. However, never rest on laurels even if your photos are as good as you want. Continue to develop you skills and hold experiments. The following words by David Bailey will inspire you for harder work: “It takes a lot of imagination to be a good photographer. You need less imagination to be a painter because you can invent things. But in photography everything is so ordinary; it takes a lot of looking before you learn to see the extraordinary.”
LOREM IPSUM DOLOR SIT AMET ELIT
Lorem ipsum dolor sit amet, consectetur adipisicing elit, sed do eiusmod tempor incididunt ut labore et dolore magna aliqua. Ut enim ad minim veniam, quis nostrud exercitation ullamco laboris nisi ut aliquip ex ea commodo consequat. Duis aute irure dolor in reprehenderit in voluptate velit esse cillum dolore eu fugiat nulla pariatur. Excepteur sint occaecat cupidatat non proident, sunt in culpa qui officia deserunt mollit anim id est laborum.
Leave a Reply